Doner has moved from a niche street food to one of the most profitable items a kitchen can run. A vertical spit turns slowly, the outer layer caramelizes, and a single cone can serve dozens of portions with very little waste. For operators thinking about margin, speed of service, and broad customer appeal, few additions pull their weight the way a well-run doner station does.
Getting it right, though, takes more than buying a broiler and hoping for the best. The gap between a doner program that pays for itself in a few weeks and one that sits cold in the corner usually comes down to preparation: the right equipment, trained hands, sensible portioning, and a menu that actually gives the product a place to live.
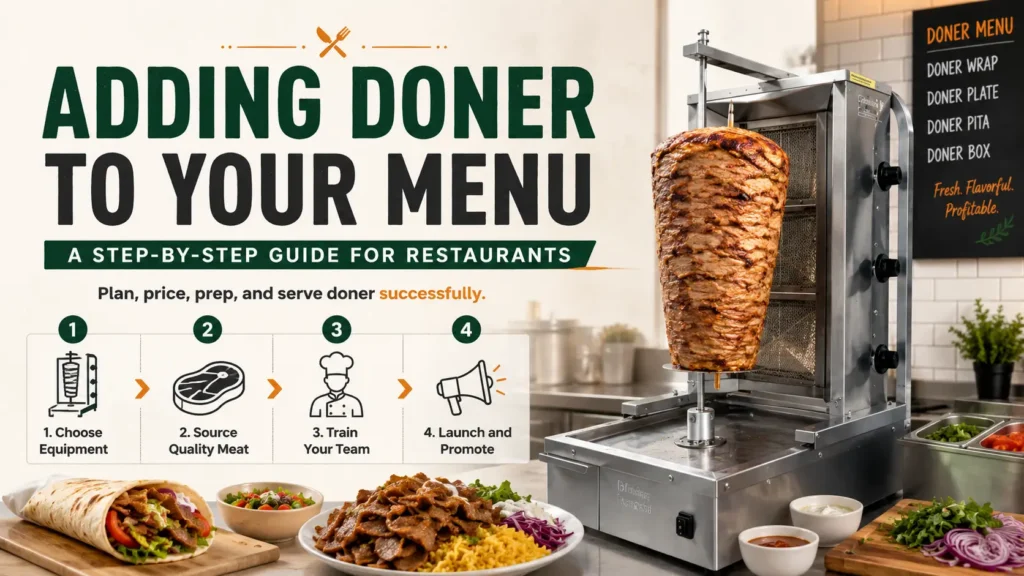
This guide walks through each decision in the order you will face it, starting with whether your kitchen can physically handle a vertical broiler and ending with how you price and promote the first wrap that goes out the door. Work through it step by step and you will sidestep the mistakes that trip up most first-time operators.
Is Your Kitchen Ready? Space and Ventilation Requirements
Before you order anything, take a tape measure to your line. A vertical broiler is taller than most countertop equipment and needs clear space above the cone for the meat to rotate and rise as it cooks down. Most units want at least 70 to 80 cm of vertical clearance plus room on the carving side for a person to stand and work without bumping into a neighboring station.
Ventilation is the part people underestimate. Doner produces steady heat and grease-laden vapor, so the unit needs to sit under an extraction hood that can handle it. Tucking a broiler against a back wall with no hood above it is a common and expensive mistake, because it fails inspection and fills the dining room with smoke. If your existing hood is already running near capacity, talk to your ventilation contractor before you commit.
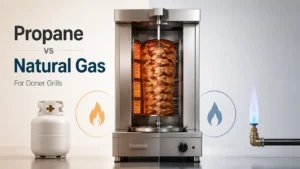
Power and fuel matter just as much. Electric broilers need a dedicated circuit with the correct voltage, while gas units need a proper line and a safe shut-off. Confirm what your space already supports so you are not paying an electrician halfway through your launch week. A quick walkthrough now saves a painful retrofit later.
The Essential Equipment You Need to Get Started
Once you know your space can handle it, the equipment list itself is short and focused. You do not need a warehouse of gear to run doner well, but the few pieces you buy should be commercial grade, because they run hot for hours every day. Browsing a dedicated doner kebab equipment range is the easiest way to match the right tools to your volume.
Here is what a working station needs:
- Vertical broiler: Choose the number of heat panels based on your expected volume. More panels cook a larger cone faster and keep the surface crisp during a rush.
- Carving tool: Either a long, sharp manual knife or an electric kebab slicer. The electric version gives consistent thin shavings and is far gentler on staff during busy shifts.
- Holding equipment: A warmer or hot well to keep carved meat at a safe serving temperature without drying it out.
- Drip and grease management: A tray to catch fat and juices, which keeps the area clean and makes end-of-day cleaning quick.
- Prep basics: Heat-resistant gloves, cutting boards dedicated to cooked protein, and proper storage for any uncooked cones.
Buy slightly above your current need rather than below it. A station that struggles to keep up during lunch will cap your sales, while a unit with a little headroom lets you grow into the demand you create.
Pre-Made Cones vs. In-House Prep: Which is Better?
This is the question that decides how much labor your doner program demands every day. Building cones from scratch means marinating, layering, and shaping the meat by hand, which gives you full control over seasoning but eats hours of skilled prep time and carries real consistency risk if your team turns over.
Pre-made cones flip that equation. They arrive shaped, seasoned, and ready to mount, so a line cook simply loads the spit and starts cooking. For most restaurants outside of specialist kebab houses, this is the smarter route: the flavor is consistent, the labor cost drops sharply, and you avoid the food safety headaches that come with handling large volumes of raw seasoned meat in-house. A reliable supply of sliced proteins and ready cones lets a small team run the same quality every single day.
There is also a middle path worth considering. Some operators use ready cones for their core doner kebab while occasionally hand-prepping a seasonal or signature version to keep the menu fresh. That gives you the efficiency of a finished product most of the time and a point of difference when you want one.
In short, unless craft preparation is central to your brand story, pre-made cones win on cost, speed, and reliability. Look through the full product range to see which formats fit your volume and cuisine before you decide.
Training Your Staff: The Art of Carving and Food Safety
A great cone carved badly still disappoints the guest. Carving is a learned skill, and the goal is thin, even shavings taken from the cooked outer layer so the meat stays crisp on the edges and tender underneath. Teach your team to carve top to bottom in long, controlled strokes, and to only take what is fully cooked rather than digging into the rare center.
Food safety sits right alongside technique. The surface that is exposed to the heat cooks first, so the carved portions should always come from that browned outer layer. Staff need to understand that the inside of a large cone may still be cold, which is exactly why you carve in layers rather than cutting deep. Keeping carved meat in a warmer at a safe holding temperature, and discarding anything left too long, protects both your guests and your reputation.
Build a short, repeatable routine for opening, carving, and closing so any team member can run the station the same way. Clear, step-by-step how-to guidance turns a nervous new hire into a confident carver within a few shifts, and consistency is what keeps regulars coming back.
Smart Ways to Integrate Doner Into Your Current Menu
One of the best things about doner is how easily it slots into formats you may already serve. You do not need to rebuild your concept around it. Instead, let it strengthen the dishes and price points you already understand.
A handful of formats tend to sell well from day one:
- Classic wraps: Carved meat, fresh salad, and sauce in warm flatbread. Fast to assemble and easy to price for takeaway.
- Plates and platters: Pair the meat with rice, fries, or salad for a higher-ticket dine-in option.
- Bowls: A lighter, customizable format that appeals to health-conscious guests.
- Loaded fries and sides: An easy upsell that uses the same carved protein you are already producing.
- Burger crossovers: Doner pairs naturally with burger-style menus, and a combined burger and kebab offer widens your appeal.
If your concept leans Mediterranean or Middle Eastern, you can also frame related items such as gyro or shawarma alongside doner, giving guests variety while you run them all off similar equipment and skills. The key is to launch with two or three strong formats rather than ten weak ones, then add as you learn what your customers reach for.
Costing and Pricing: How to Make Your New Item Profitable
Profit on doner starts with knowing your yield. A cone has a fixed cost, and how many portions you get from it depends entirely on carving discipline. Sloppy, thick cuts burn through a cone fast and quietly erode your margin, while consistent thin shavings stretch the same product across far more covers. Train for yield and you protect profit at the same time.
Work out your true plate cost before you set a price. Add the meat cost per portion to your bread, sauce, salad, and packaging, then build in a target food cost percentage that fits your market. Many operators aim to keep doner food cost comfortably below thirty percent, which leaves healthy room once labor and overhead are covered. Because the protein is pre-portioned by the carve, doner is easier to cost accurately than many made-to-order dishes.
Pricing should also reflect format. A simple wrap and a loaded platter use similar core ingredients but justify very different price points, so let your menu structure capture that range. Smart bundling, such as a wrap with a side and a drink, lifts the average ticket without making the guest feel squeezed.
Launching and Promoting Your New Kebab Options
You have built the station, trained the team, and priced the menu. Now the job is to make sure people know it exists. Resist the urge to go fully live overnight. A short soft launch, where you run doner for a few days at limited hours, lets your team find their rhythm and lets you fix any service hiccups before the crowds arrive.
When you are ready to push, lead with what people can see and smell. The rotating spit is a marketing tool in itself, so position it where passing guests notice it. Photograph a freshly carved wrap in good light and use it across your social channels, your delivery listings, and any in-store signage. Offering a small tasting portion during the first week is a low-cost way to turn curious walk-ins into repeat buyers.
Do not overlook the retail angle either. If your kitchen runs well, a packaged or take-home retail line can open a second revenue stream from the same product you already prepare. And when you are weighing suppliers, formats, or equipment for any of these steps, it is worth reaching out to contact us for guidance tailored to your volume and concept.
Simply put, a doner program rewards the operators who plan it properly. Get the space, equipment, product, and people right, and you add a fast, high-margin item that earns its place on your menu for years.